Mason jars are some of the most popular craft items there are, especially since the explosion of Pinterest! There is a Mason jar project for just about anything you can think of. These classic pieces are simple, yet beautiful, and are always an eye-catcher! It just so happens that Antique Candle Co.® (previously Antique Candle Works) candles are made using Mason jars!

A couple months ago, we shared hot to clean out the left over wax from our candle jars, as well as some easy ideas for repurposing your Mason jar candle. Here are the detailed steps of how to create two of those craft ideas: Mason Jar Vases!
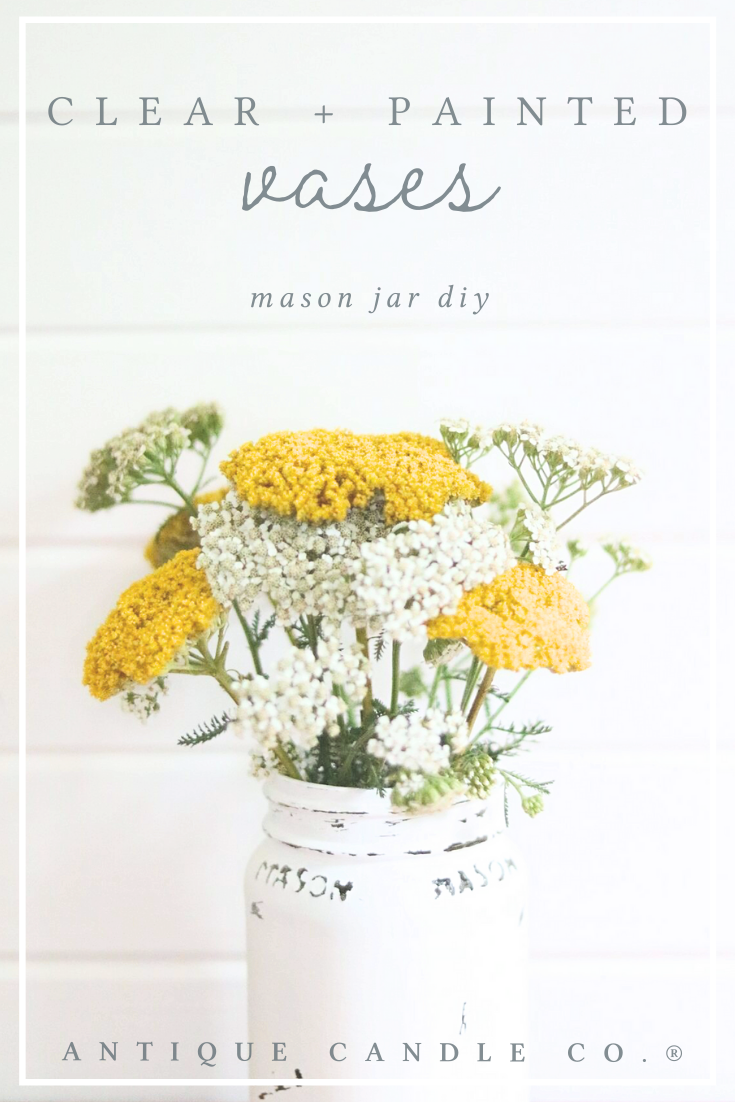
Painted and Distressed Vase

This gorgeous vase has a rustic and vintage-vibe! This is an easy tutorial for how to paint and distress Mason jars!
What you will need: old ACC Mason jar candle, chalk paint (I used white, but you can use any color), paintbrush, sandpaper

- Clean out the old wax from the Mason jar. Soy wax is water soluble, so you should be able to easily do this with hot water and soap.
- Make sure it is completely clean and dry on the outside.
- Set out newspapers or some kind of covering on your surface where you will be painting. Place your jar upside down and get to work painting. Make sure you paint over all areas of uneven surface. You will likely need to paint 2-3 coats on the outside of the jar.
- The paint we used dried fairly quickly between each coat, but make sure you let the paint dry for the recommended time as seen on the chalk paint container. Allow it to dry completely before moving on to distressing.
- Once the paint is dry, use sandpaper to distress the jar. I used a very coarse sandpaper to carefully sand all of the protruding areas, such as the thread at the top of the jar and the ‘Mason’ wording. I also sanded some of the numbers and the corners of one or two sides of the jar. The key is to not sand too much. You want it to look like natural wear and tear.

That’s it! You now have a stunning, rustic vase to add to your home! Fill it with wildflowers in the spring, or sprigs of pine in the winter!
Burlap Vase

This adorable vase is probably one of the easiest, yet most stunning Mason jar crafts you can do!
What you will need: old ACC Mason jar candle, burlap, hot glue gun

- Clean out your jar.
- Grab your burlap. Though it doesn’t really matter what kind of burlap you use for this project, but a wider kind will make the burlap look more full. Wrap the burlap around the top of the jar 4-5 times and then cut it. You’ll likely not use all of it, but this way you can have a little more freedom to style it.
- If you’re using a wider burlap, fold it length-wise so that it is only half as wide. The goal of this vase is for it to look rustic, and folding it in half will allow the burlap to look thicker and slightly uneven when you wrap it around the jar, which is good!
- Wrap the burlap around the top of the jar, pulling more burlap on one side so that it is uneven, and tie the ends together in a loose knot. You want it to stay on the jar, but not look too tight.
- Pull the longer end of the burlap out of the knot and tuck the shorter end either into the knot or under the burlap. If you have trouble tucking it in a way that looks good, you can cut some of the excess off. You will then cut the longer end at a slight angle, leaving some excess. I also pulled out some strands of burlap at the end so that it looked frayed.
- Use your glue gun to glue down the shorter end of the burlap wherever you tucked it, as well as any other areas that need held in place. You can also glue the burlap to the jar itself.

Viola! Now you have beautiful burlap Mason jar vase to fill with your favorite flowers, perfect for any time of the year!
When it comes to Mason jars, the possibilities are endless!
Share with us a photo of your completed Mason jar craft using your old Antique Candle Co.® candles, or let us know about it in the comments below! We’d love to see your creativity!
Check out our Pinterest for some other awesome DIY home ideas!
Have a beautiful day!
Photography by Hannah Christine Photography

